That Drip on My Leg Was the Last Straw
Okay, listen. I love my ’85 Cutlass. It’s the car I learned to drive in, and I’m not letting it go. But last fall, driving home in the rain, I felt it. That cold, annoying drip right on my knee. The window seal was shot, the door seals were basically decorative, and the wind noise on the highway sounded like a harmonica choir. I knew it was time. After digging through forums and getting dizzy from all the options, I pulled the trigger on this full weatherstripping kit with the narrow chrome insert.
I gotta say, when the box showed up, I was skeptical. For the price, you just never know. But let me walk you through the whole messy, glue-fingered process.
Unboxing & First Impressions
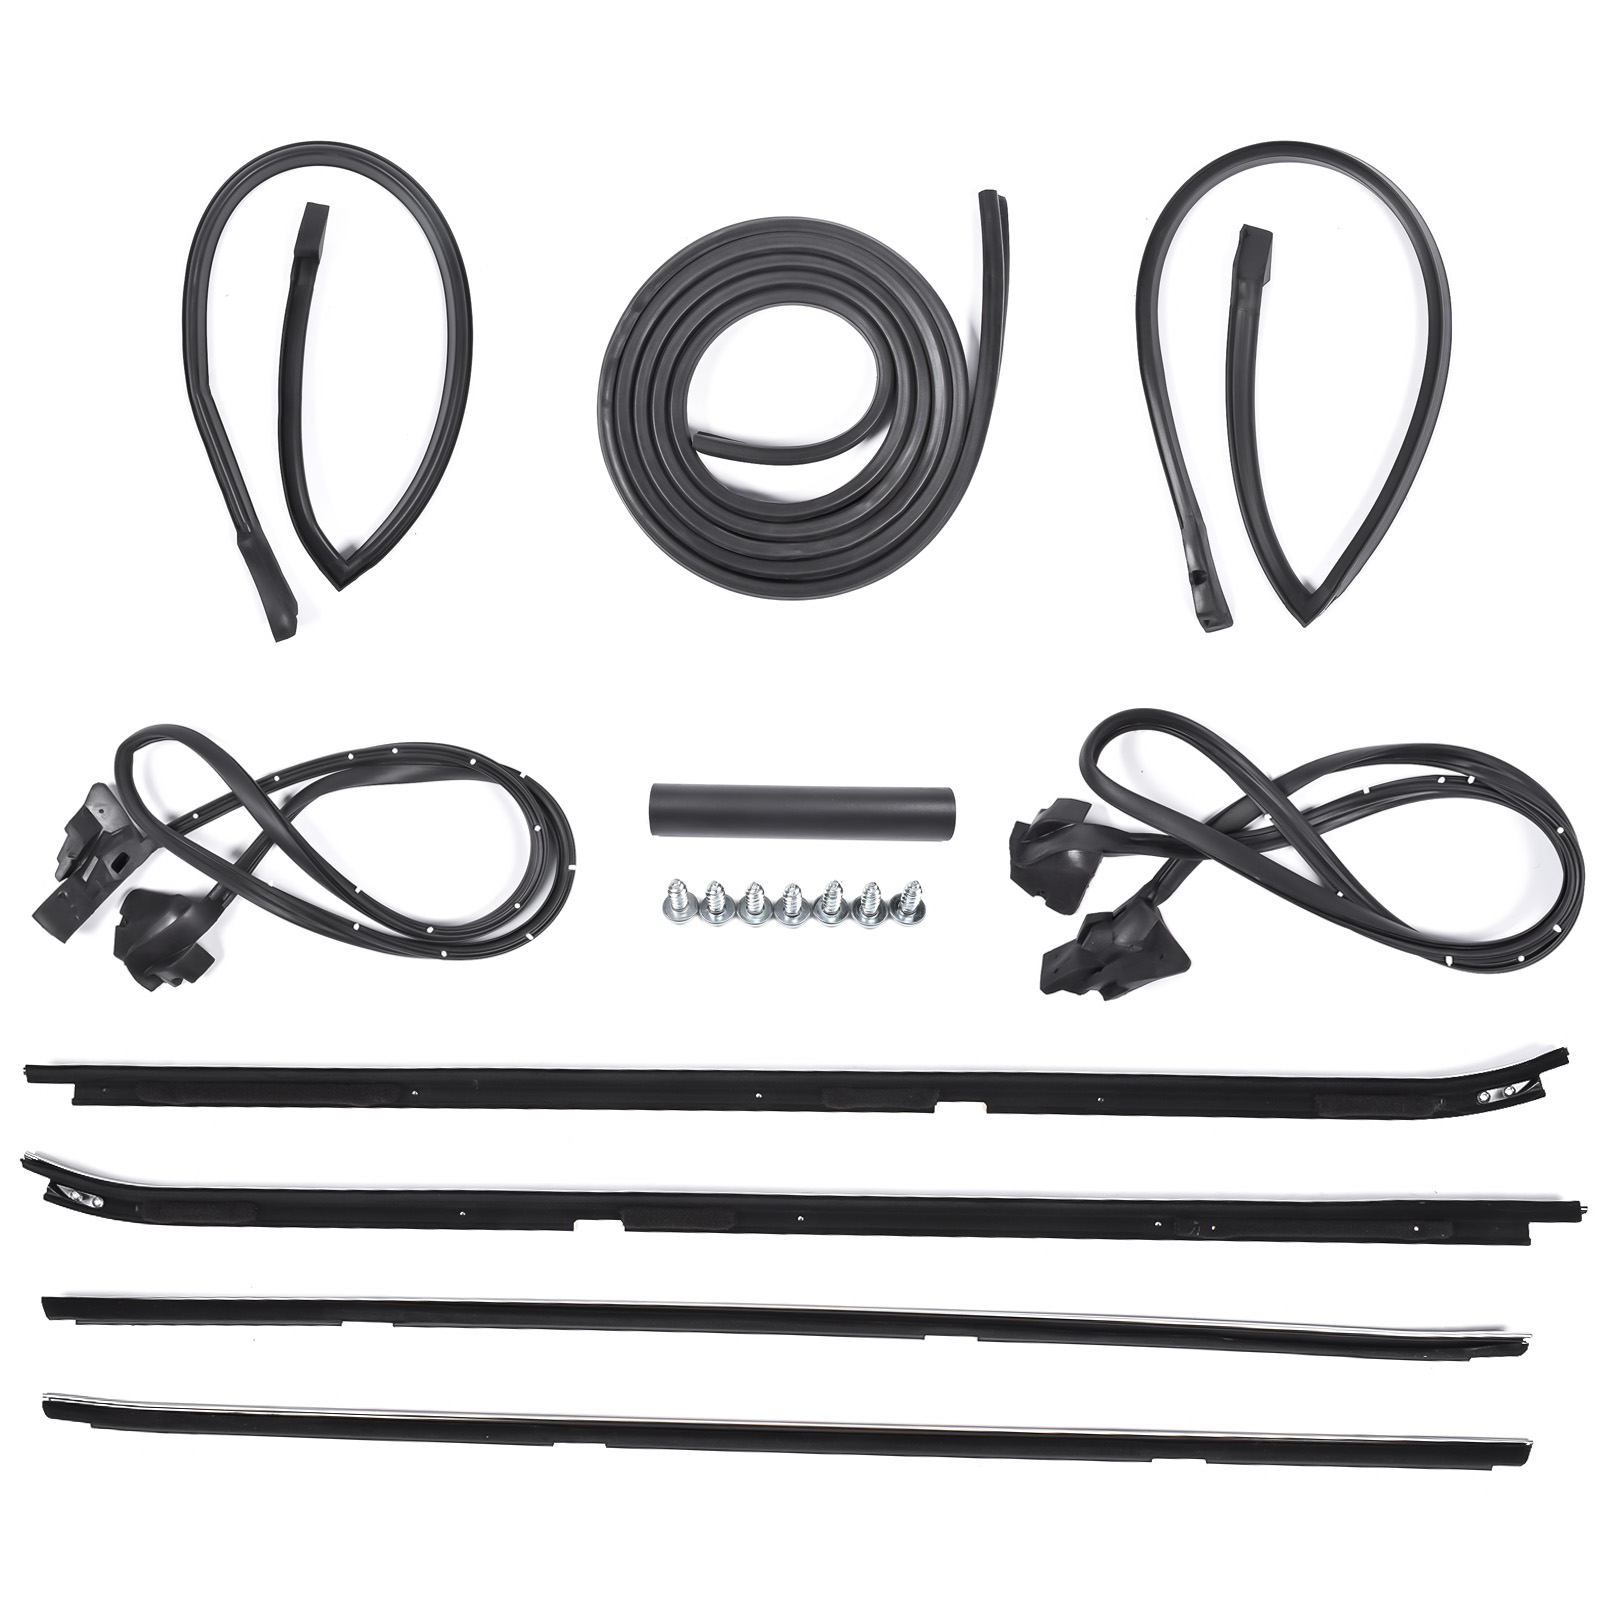
Everything was packed pretty well. No crushed pieces, which is a win. The rubber feels substantial—not that cheap, foamy stuff that disintegrates in two years. It’s got a good weight and flexibility to it. The narrow chrome molding that runs along the top of the door seals is a nice touch and looks correct for our G-bodies (Buick Regal, Olds Cutlass, etc.). Honestly, it looked promising right out of the box.
Here’s a thing I did for my own sanity, and maybe it’ll help you. I laid every single piece out on the garage floor next to the old, crumbly ones I’d pulled off. It’s the best way to avoid that “what the heck is this for?” moment halfway through.
The Good, The Tricky, and The Adhesive
Let’s get into the install. The door seals? Surprisingly straightforward. They popped into the channels like they were meant to be there. The fit along the roofline and the quarters was pretty darn good. I only had to trim a tiny bit at one corner, which is totally normal for any aftermarket kit.
Now, the not-so-perfect part. The window channel felt a touch tight initially. I’m not gonna lie, I had to really work the glass up and down a few times with some silicone lubricant to get it to slide smoothly. It took about 15 minutes of patience per side. It’s fine now, but be prepared for that. It’s not a deal-breaker, just a quirk.
The other thing? Buy your own 3M Black Weatherstrip Adhesive. The kit comes with a tube, but it’s… minimal. I used nearly the whole thing on one door before I ran to the parts store for the big gun. Just save yourself the trip and have a fresh tube ready.
How It Stacks Up Against The Alternatives
I made a quick comparison chart for you. Because who has time to search ten different sites?
| Feature | This Full Kit (w/ Chrome) | Buying OEM Pieces Separately | Cheap Generic Rubber |
|---|---|---|---|
| Price (Approx.) | $180 | $350+ (easily) | $90-120 |
| Completeness | Everything in one box | Have to find each part number | Might be missing key seals |
| Chrome Insert | Included (Narrow style) | Sold separately, $$$ | Not included |
| Fit & Quality | Very Good | Perfect (but $$$$) | Hit or Miss |
See what I mean? For the money, this kit hits a sweet spot.

The Final Verdict After a Month of Driving
So, was it worth it? A hundred percent. The difference is night and day. The “whoosh” of wind noise at 65 mph is gone. My interior stayed bone-dry during last week’s downpour. The car even feels a little tighter, a little more solid when you close the door. That satisfying *thunk* is back.
Is it absolute concours, show-car perfection? If you’re chasing 100-point trophies, you might hunt down NOS GM parts. But for a driver—a car you actually want to take out and enjoy without getting wet or going deaf—this kit is a home run. The slight fuss with the window channel is a minor gripe in the grand scheme.
If your G-Body is sounding like a wind tunnel or leaking like a sieve, this will fix it. Just have that extra adhesive handy and a little patience for the windows. My Cutlass feels like a new car, or at least, the car I remember from 1985.
Anyway, that’s my two cents. Time to go enjoy a quiet, dry cruise. Hope this helps you save your classic from the drips.
– Robert C.